A Checklist for Capturing Detailed Textures in Old Buildings
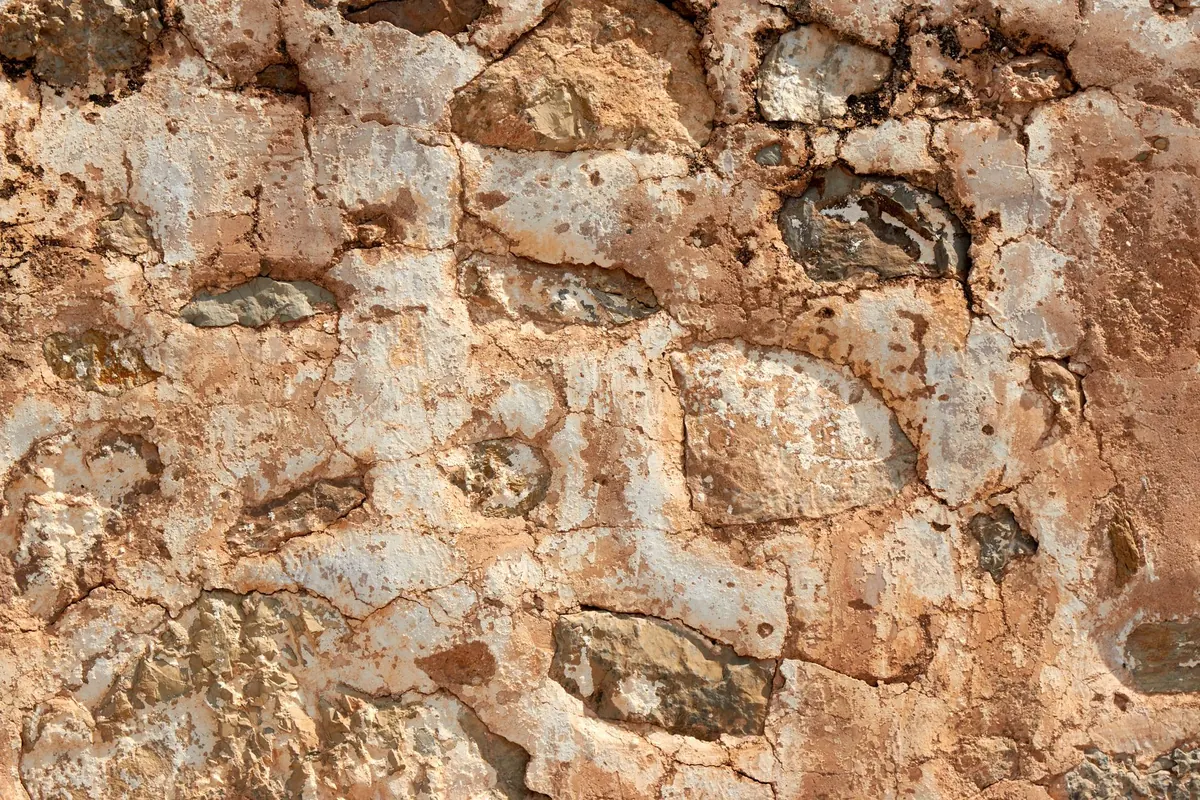
Run your hand along a weathered oak beam and you feel four centuries of grain, saw marks and the odd iron nail. Photograph it badly and all of that flattens into a brown smear. Textures are where old buildings keep their evidence: tooling marks on sandstone, casting seams on ironwork, limewash brushed into brick, lichen creeping across slate. They are also among the easiest things to ruin with careless light and soft focus. The gap between a record shot and something worth printing usually comes down to fifteen minutes of preparation. This is the routine to run through before a shoot, whether the subject is a parish church porch or a canal-side warehouse.
Arrive knowing which details matter. A keyholder or churchwarden will often point you towards carvings, dates and masons' marks you would otherwise walk straight past. On a timber-framed building, the story might be in the adze marks on a beam or the way a later repair has been scarfed into older oak. On a Victorian gate, it could be the stamped maker's name on a hinge strap, or the pitting that shows how many times the iron has been repainted.
Walk the whole exterior before you unpack anything. Note which faces are in shade, where a porch is blocking the light, and which surfaces will be busy with visitors or parked cars later in the day. If a detail sits high on a wall, work out now whether you can reach it safely. A longer lens from the ground is nearly always better than a stepladder balanced on uneven paving.
Texture lives in the difference in tone between ridges and hollows, and the light decides how much of that difference you get. Flat, even light — bright overcast, the open shade of a north-facing wall, a window bay indoors — records colour and fine surface detail cleanly without blowing highlights. Hard midday sun does the opposite: it crushes shadow into black and turns pale limestone into pure white.
Flat light is not always the answer, though. A low sun raking across a wall at a shallow angle throws every chip and chisel mark into relief, which is exactly right for worn inscriptions, initials scratched into plaster and the tooled edge of a quoin. If a detail deserves both treatments, shoot it twice and decide later.
Damp stone reads darker and richer than dry, and a shower followed by clearing cloud often gives you both saturated colour and directional light. Heavy rain, wind-blown grit and hard frost are not worth fighting. For polished metal or glazed tiles, look for an angle that keeps the reflection of the sky out of the frame — that is what a polarising filter is for.
Depth of field is the quiet enemy of texture. At close range even f/11 can leave a rough surface half soft, so decide which plane matters and put your focus there — usually the peak of the relief, not the wall behind it. Use the lowest ISO your camera offers, work between f/8 and f/11 on most lenses, and stop down further only after checking for softening.
Where a whole carved panel has to be sharp from edge to edge, shoot a focus stack: a run of frames from front to back, combined later. On a tripod, switch off stabilisation, use a two-second delay or a remote release, and silent shutter if the floor shakes when people walk past. Trust the histogram rather than the screen. Small highlights on glass or polished brass will clip long before anything else looks wrong.
Photographing straight on keeps stone courses parallel to the frame edges and makes the proportions of a carved panel readable. Step back and use a slightly longer focal length rather than tilting the camera up; that keeps verticals upright instead of leaning. Fill the frame, but leave a sliver of surrounding wall when context helps the viewer understand where the detail sits.
Check the corners before every frame. Your own shadow, a bag strap, a stray leaf or a bright chip of litter will all find their way in. Where size matters — a nail head, a keyhole, a mason's mark — lay a coin or rule in shot, then photograph the same detail without it.
Ask first. Churches may be locked or open with a keyholder nearby, and private houses, mills and canal buildings all have their own arrangements. Some sites, particularly scheduled monuments, have rules about equipment such as tripods and lighting, so check with the owner or the relevant heritage body before you set up. A short explanation and an offer to share the images tends to open doors that a camera bag alone will not.
On site, treat the fabric as more important than the photograph. Do not lean a tripod against fragile stone, do not set legs on ledger stones or memorial brasses, and keep bags off polished floors. Move nothing without asking, close every gate behind you, and leave the churchyard as you found it.
Then shoot a few frames more than you think you need, and write down the building, the date and the direction you were facing while it is fresh. Twenty minutes of care at the wall saves an hour at the desk, and it means a detail that has survived three hundred years of weather gets recorded properly — for the next person who comes looking.
Photo: Helmut Kaufmann / Pexels