Beginner's Guide to Night Photography at Historic Landmarks
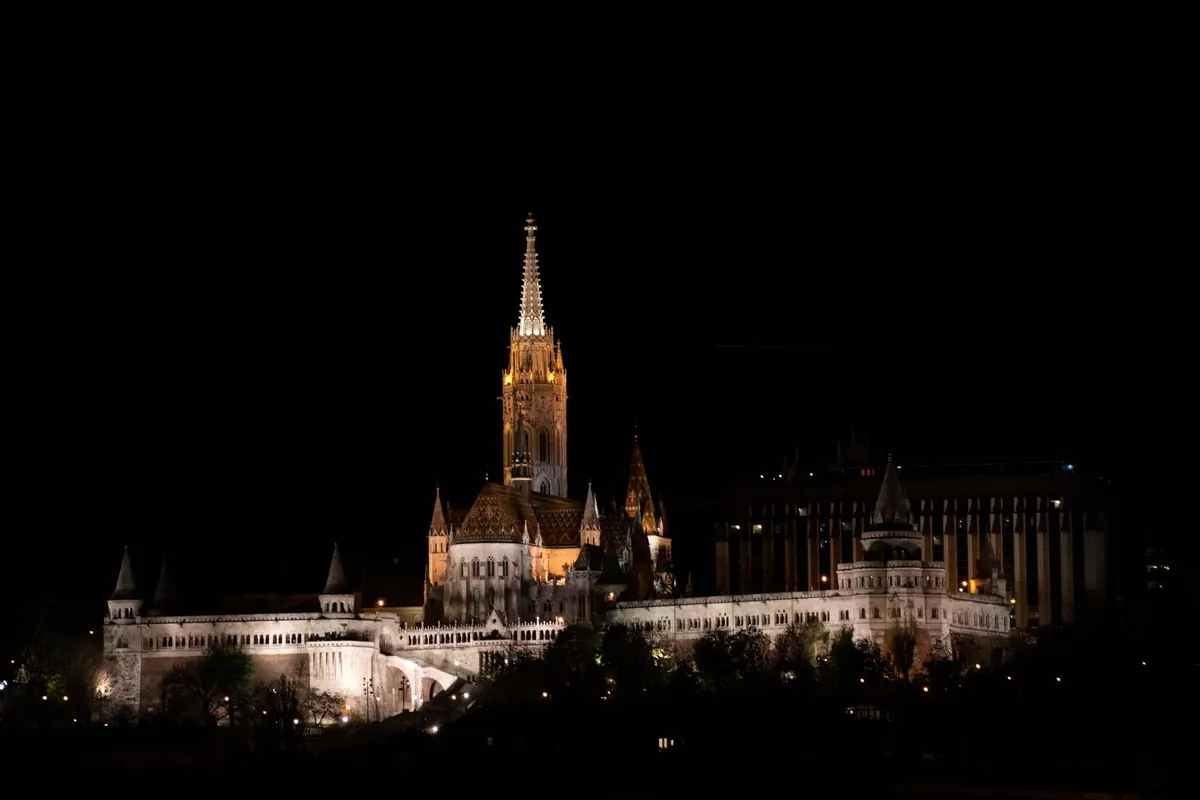
A floodlit castle keep against a deep blue sky is one of the most satisfying sights in local history. It is also one of the hardest things to photograph well. Night photography at historic landmarks is less about expensive gear and more about timing, patience, and a handful of settings you can learn in a single evening.
Floodlights do something that daylight cannot. They pick out the texture of stone, the curve of an arch, the chiselled letters on a monument. A church tower lit from below, a castle wall reflected in a moat, a war memorial standing quiet under a street lamp—these are photographs that feel like the place, not just a record of it.
The crowds have gone home, too. You can set up a tripod without apologising, and the background noise of daytime traffic disappears. What remains is a building, its light, and your exposure.
A recent phone with a night mode can produce pleasing wide shots. It will struggle, though, with the long exposures and precise framing that floodlit stone often demands.
Set your camera to manual mode. Start at ISO 200, aperture f/8, and a shutter speed of 4 seconds. If the image is too dark, increase the shutter speed to 8 or 10 seconds rather than pushing ISO. If the stone highlights are blown, shorten the shutter speed or stop down to f/11. Every building is lit differently, so treat these numbers as a first guess, not a rule.
Autofocus often hunts in low light. Switch to live view, magnify the view, and focus manually on a bright edge of the building. Take a test shot and check the histogram. You want the highlights to sit just below the right edge, not clipped. If you are unsure, bracket: one shot at the metered setting, one brighter, one darker.
Turn off image stabilisation when the camera is on a tripod. Use the two-second timer or a remote release to avoid shake. If your camera has long exposure noise reduction, enable it for cleaner files, though it doubles the wait between shots. For white balance, try daylight to keep the sky blue, or tungsten to make the stone look more neutral. Shoot RAW and decide later.
A straight-on record shot rarely captures the drama. Walk around. Look for reflections in wet cobbles, a moat, or a polished plaque. Use an arch or a gateway as a frame. At a church, try a low angle from the path to make the tower feel taller. At a castle, step back to include a curtain wall or a tree line for context. At a monument, look for leading lines from railings, steps, or paths.
Watch the edges of your frame. A stray bin, a bright streetlamp, or a car headlight can pull the eye away from the stone. A small shift of a metre often fixes it. If the foreground is dull, use a longer exposure to catch light trails from passing traffic, or wait for a break in the clouds. A dark, empty foreground can work if it is deliberate and simple.
The best night photographs of historic buildings are often taken before it is fully dark. The blue hour—roughly 20 to 40 minutes after sunset—gives you a sky that still has colour, which balances the warm floodlights on the stone. Check when the floodlights are switched on. Many sites turn them on at dusk and off late in the evening. If you arrive too late, the sky goes black and the building can look like a cut-out.
Weather matters. A clear sky gives a deep blue, while light cloud can soften contrast and reflect the town's glow. Rain is your friend if you can keep the camera dry: wet stone and paving create reflections that double the light. Wind is your enemy because it shakes the tripod, so hang a bag from the centre column or shield the legs with your body. In winter, nights are longer and crowds thinner, but batteries drain faster in the cold. Keep spares inside your coat.
A tripod can be a tripping hazard in a town centre, so stay aware of people around you. Work with a friend when you can, and keep your phone charged. If you are photographing near water or on old stone steps, take extra care—historic sites are rarely flat.
Pick one landmark within a short drive or walk. Go at blue hour, set up early, and take one composition. Refine it. Then try a different angle. Review the shots at home, adjust white balance and exposure, and apply gentle noise reduction. Do not over-edit; the goal is stone that looks like stone, not a postcard from another planet. The more you practise, the more you will notice how light behaves on a familiar tower or wall. That local knowledge is worth more than any new lens.
Photo: John Kostopoulos / Pexels
Previous Post
The Folklore of Ancient Standing Stones: A Cultural Explainer
Next Post
How to Research the History of a Local Landmark: A Step-by-Step Guide