How to Photograph Stained Glass Windows in Historic Churches
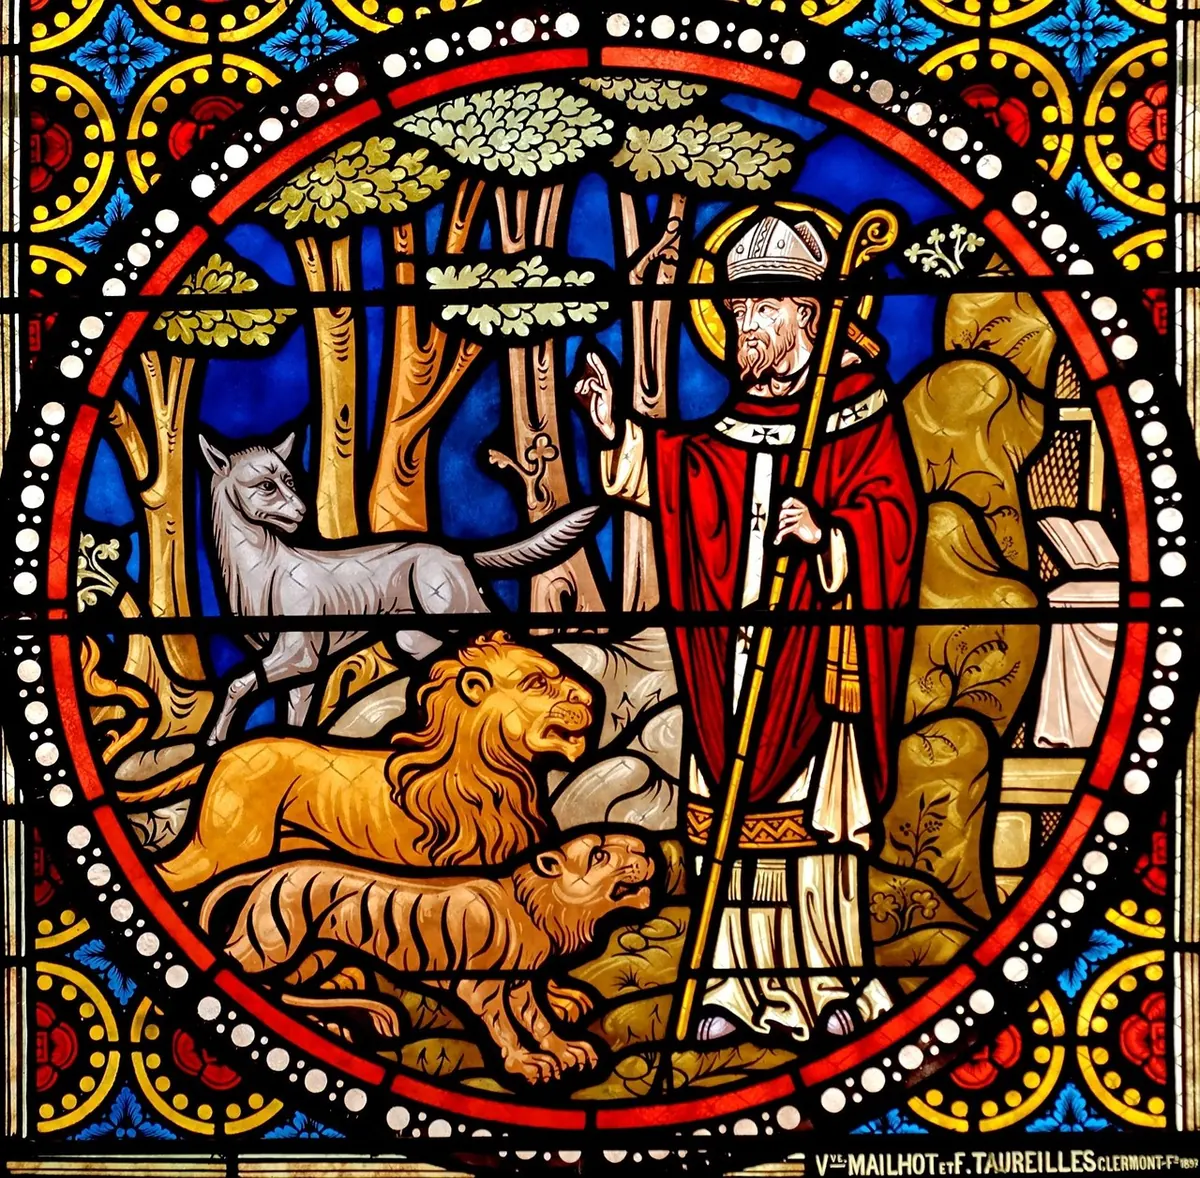
Stand in front of a fourteenth-century window at four in the afternoon and the glass seems to burn. The photograph you bring home is usually another story: a milky wash with a white rectangle where the saint's face should be. Stained glass is one of the hardest subjects in a historic church. The glass is several stops brighter than the stone around it, every surface between you and it wants to reflect something, and the light you need is rarely the light you get. None of that is a reason to leave the camera in the bag. It just means working in a particular order.
Your eye adjusts as it travels across a window, reading dark stone and glowing glass almost at once. A camera has to settle on one exposure for the whole frame. Meter for the pillars and the glass turns to pale smear; meter for the brightest part of the glass and the church drops into black.
Two problems get tangled together here. The first is dynamic range: the gap between the darkest and brightest parts of the scene can easily run past what a single frame holds. The second is reflection. Unless you are alone in an empty building, there is light behind you, and some of it is landing on the window's surface and bouncing straight back at the lens.
Colour lives in the highlights. A deep blue that clips to white is gone for good, while a shadow can usually be lifted later. So expose for the glass and let the interior fall where it may — or bracket and combine.
Work in raw, put the camera on a tripod, and set the lowest native ISO. Switch off image stabilisation once the tripod is doing the work, and use the two-second timer or a cable release rather than jabbing the shutter button.
Spot metering earns its keep here. Choose a patch of glass of middling brightness — not the brightest sliver of yellow, not the darkest blue — and take your reading there. Then check the histogram. If the right-hand edge is climbing the wall, dial in a stop or two of negative exposure compensation and shoot again.
When a window is fighting you, shoot three or five frames at roughly one and a half to two stops apart. Later you can pick the one that holds the glass, or blend the window from one exposure with the stonework from another. It costs nothing but card space and a few extra seconds.
Aperture-wise, stay in the middle. Around f/8 to f/11 usually gives the sharpest combination of lens and stone, with enough depth of field for a window that is not perfectly flat to the sensor.
Get square to the window. Stand directly in front of it, level the camera, and move your feet rather than tilting the lens upwards. Tilting gives you converging verticals — the photograph where the tracery leans in like a pair of tired gateposts — and it shortens the window, squeezing the design.
If the glass is high up, back off and use a longer lens. A 70–200mm from the far end of the nave renders a window far more faithfully than a wide-angle pressed against the chancel step. If the church has a gallery or west-end balcony open to visitors, use it.
Then deal with reflections:
A polarising filter can take the edge off surface glare at some angles, but it costs about a stop and a half of light and can dull the colours you came for. Try it, compare, and decide.
Most parish churches welcome visitors with cameras, but access varies. Check published opening times, and if a church is normally locked, the parish office or a local keyholder can usually arrange a visit. Avoid services, weddings and funerals entirely. Some churches ask that tripods are kept out of narrow aisles, and some charge for commercial photography, so ask first.
Then keep it quiet and careful. No flash — it bounces off the glass and irritates everyone present. Do not touch the glass, the lead or the stonework, do not move hassocks or climb on pews, and leave a donation. If you plan to publish an image, particularly of a modern window by a named designer, check with the parish about permission and credit.
One practical warning: bird netting over the outside of a window appears in your photographs as a fine grid. There is no clever way around it. Sometimes a change of distance or angle softens it; often the answer is to visit a church whose windows are unobstructed, or to work on details through the largest gaps.
Stained glass is already saturated, so restraint in editing pays. A rough order that works:
Photo: WikiImages / Pixabay