Common Mistakes in Local History Photography (and How to Fix Them)

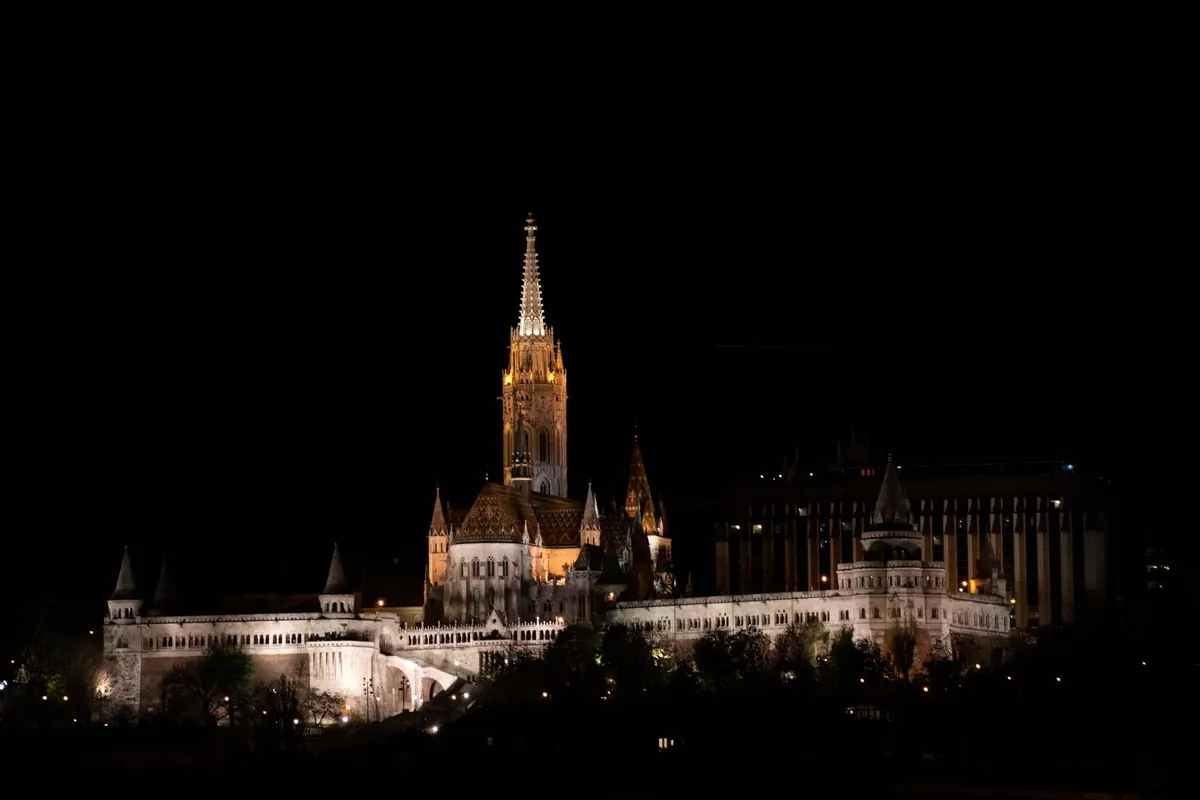
A fourteenth-century church door stands propped open, low sun spilling across worn stone. You raise the camera, take the shot, and walk on. Later, at the desk, the picture is a grey rectangle with a dark hole in the middle. The door itself — the iron studs, the scar where a lock was forced at some point in its long life — is nowhere to be seen.
That gap between what you saw and what the camera recorded is almost never about equipment. It comes from three habits: shooting at the wrong hour, pointing the lens at the obvious thing, and forgetting that a photograph of a historic site has to answer two questions — where is this, and why does it matter? All three are fixable on your next walk.
Midday sun sits directly overhead. Shadows disappear, stonework flattens, and a timber-framed shopfront becomes a pattern of light brown on slightly different light brown. The building has not changed. The light has simply stopped describing it.
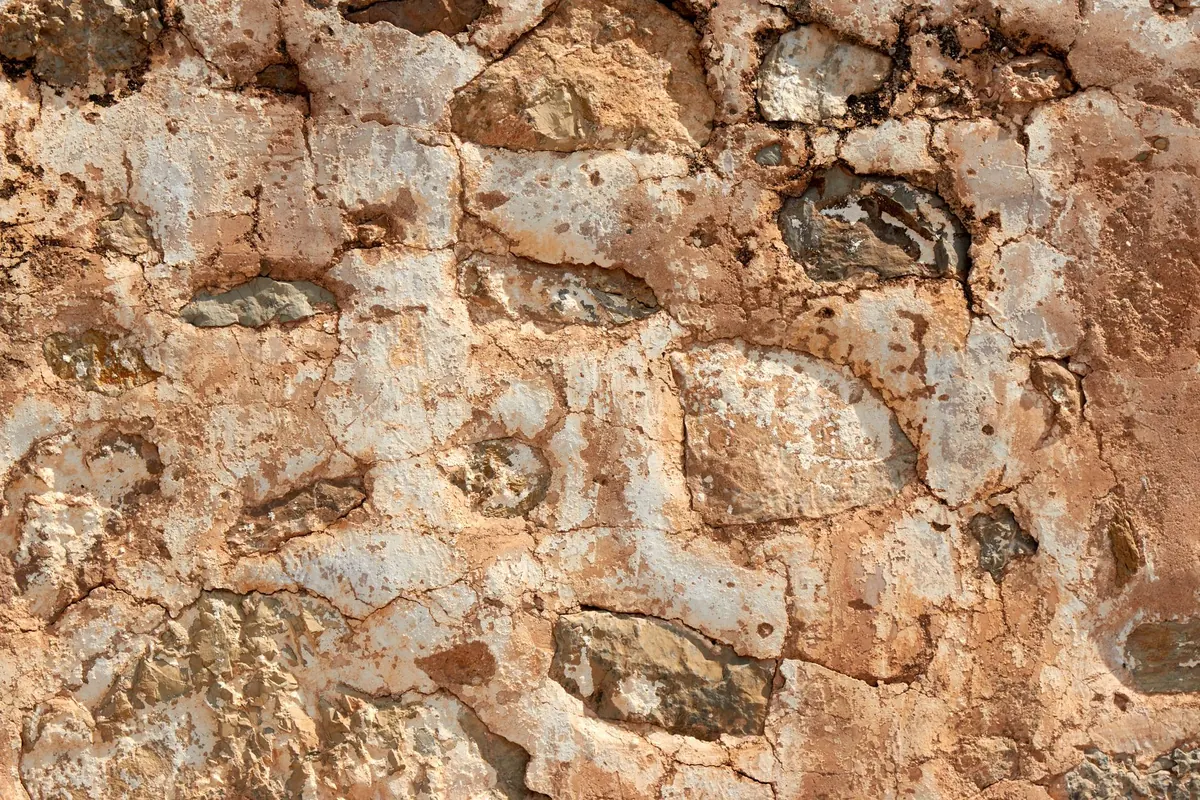
Shadow is what gives texture its shape. Move your visit to the first two hours after sunrise or the last two before sunset and the same wall gains depth: every brick course casts a small shadow, every carved bracket shows its profile. Raking light, arriving almost parallel to the surface, is the most useful condition in local history photography, and it costs nothing.
Before: a market cross photographed at one in the afternoon in July, pale sky behind it, the finial dissolving into cloud. After: the same cross at eight in the evening, warm light coming from the left, the worn steps readable and the sky holding a little colour. Same subject, same lens, entirely different photograph.
Soft, even light is not the enemy. It is excellent for recording inscriptions, memorial plaques, carved lettering and stained glass, where hard shadows would swallow the very thing you came to document. Wet slate and dark timber also photograph well under cloud. What overcast rarely does is flatter a whole building in a landscape, because there is no light direction to separate the subject from its surroundings. Use it deliberately, not by default. A polarising filter will cut glare from wet stone, glass and water, and costs you only a stop or two of light.
Dead-centre, straight-on framing is the default result of a phone pointed at a landmark, and it is almost never the most interesting choice. It also tends to put the horizon through the middle of the frame and leave a strip of tarmac across the bottom.
Three fixes cover most cases. First, keep your verticals vertical. Step back and tilt up rather than leaning backwards, or accept that you will need to correct the keystone effect later. A church tower leaning like a felled tree reads as carelessness, not character. Second, place the building off-centre and let something else in the frame do some work — a path, a churchyard wall, the line of a canal, a row of gravestones. Third, check the edges before you press the shutter. The bin, the cone, the sandwich board and the parked van are the four horsemen of the ruined heritage photo, and two paces sideways usually removes them.
A tight shot of a brick wall could have been taken anywhere. Local history photography carries an obligation that landscape photography does not: the picture should still be useful to someone in fifty years. That means including enough of the surroundings to identify and date the site.
That sequence takes five minutes and turns a pleasant picture into a record. Scale matters too. A doorway photographed on its own is a rectangle; the same doorway with a person standing in it becomes something you can measure in your head. Ask before including strangers, especially children, and keep faces small or turned away if the image will be published anywhere.
The fastest way to improve is to borrow a historic photograph of a place you already visit. Local archives, library collections, old postcards and parish magazines are full of them. Take a copy to the site and try to stand where the photographer stood. You will rarely match it exactly — trees have grown, a wall has gone — and those differences are the story.
Before: a canal wharf shot from the towpath with a wide lens, the whole basin in frame, everything small and far away. After: the same wharf from roughly the position the 1905 photographer used, a longer lens, the crane and warehouse filling the frame, the new housing estate reduced to a sliver at the edge.
The second version tells you what changed. The first only tells you what is there now. Note the date, the direction you were facing, the weather and anything you know has altered since the last photograph of the place. A line of text in your phone is enough.
Before leaving the house, check sunrise and sunset times, and choose a site you can reach within a couple of hours of either. On arrival, walk the whole building once without taking a photograph. Then shoot the approach, the façade, the details and the placing clue, each from a different spot, checking the edges of every frame and keeping the verticals straight. Write down the date, the direction you were facing and anything obviously new.
None of this needs expensive gear. It needs an hour of useful light and five minutes of looking before you shoot — and the result is something a local historian will still thank you for decades from now.
Photo: 652234 / Pixabay
Previous Post
Explainer: The Difference Between a Motte-and-Bailey and a Stone Keep Castle
Next Post
Seasonal Guide: Photographing Bluebell Woods at Historic Estates